5
Water incubation is one of the simplest ways to hatch eggs from non-annual killifish. Unlike annual killifish, whose embryos may require a period of incubation in moist substrate and can pass through diapause, most non-annual Aphyosemion species can have their eggs incubated continuously in water.
The method is particularly useful when the breeder wants to monitor the eggs individually and remove developing eggs from the spawning aquarium.
What Are Non-Annual Killifish?
Non-annual killifish generally live in habitats that do not dry out completely during the normal life cycle of the fish.
Many Aphyosemion species are non-annual killifish.
Examples include:
- Aphyosemion australe
- Aphyosemion gardneri
- Aphyosemion striatum
- Aphyosemion bivattiatum
- Aphyosemion celiae
Their eggs do not normally need to survive a prolonged dry season in the way that many annual killifish eggs do.
This makes continuous water incubation practical.
Where Should the Eggs Be Collected?
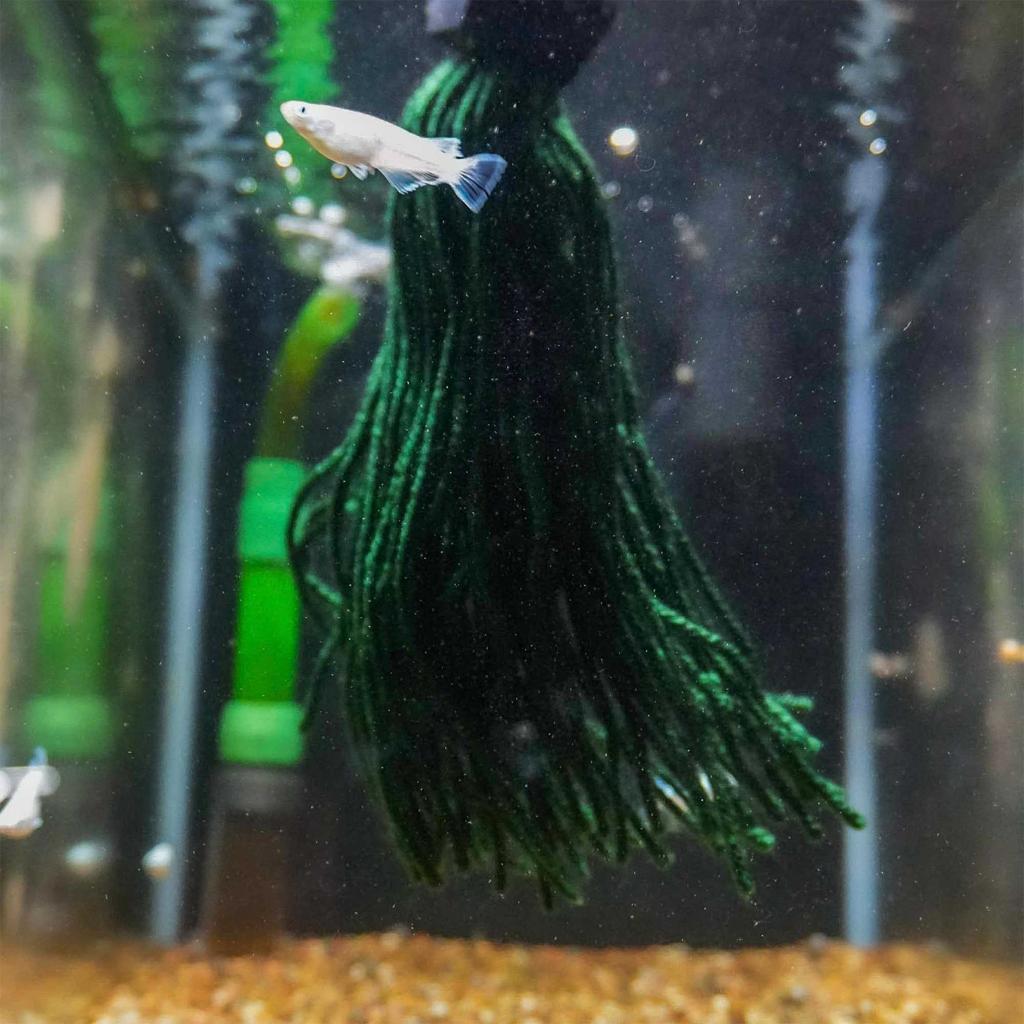
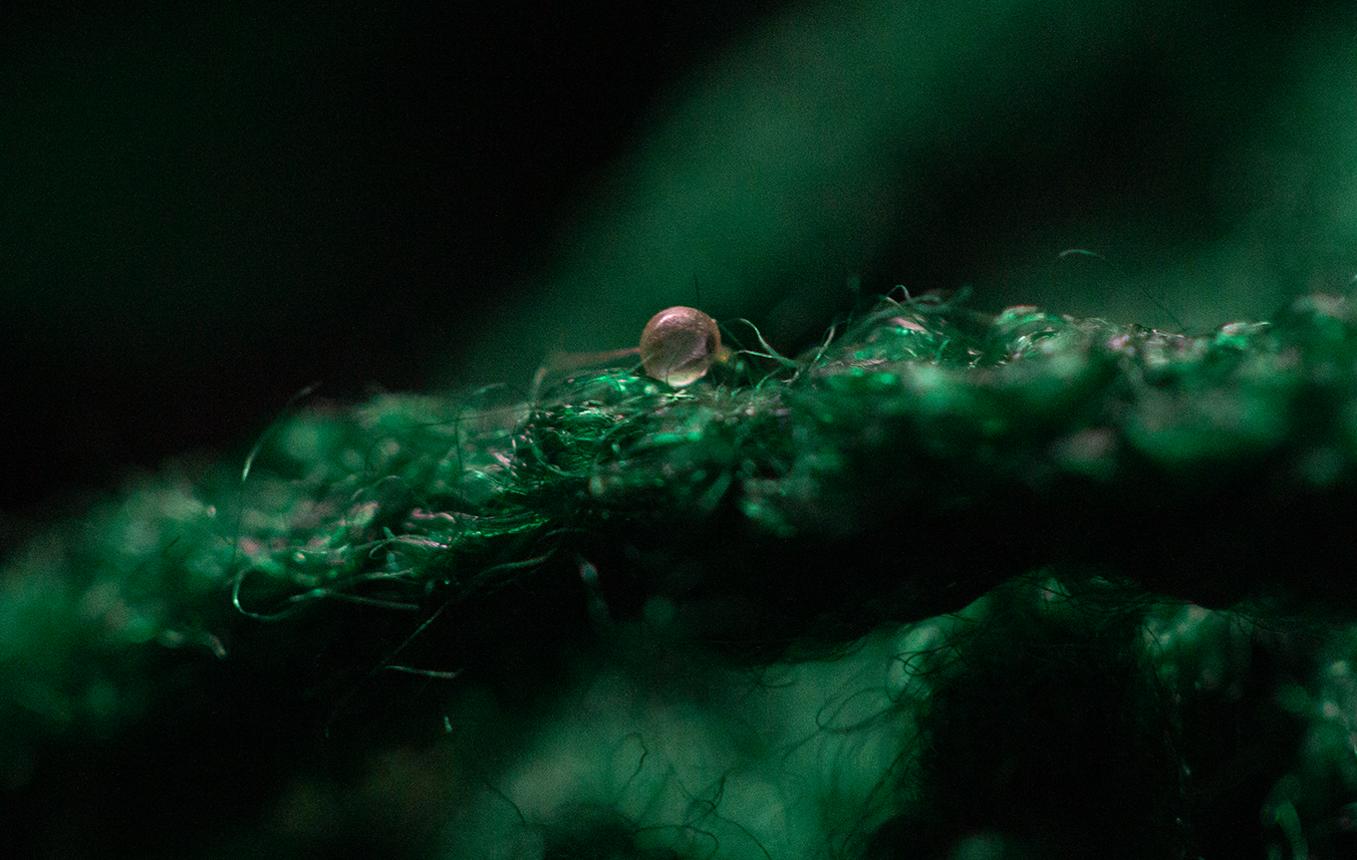
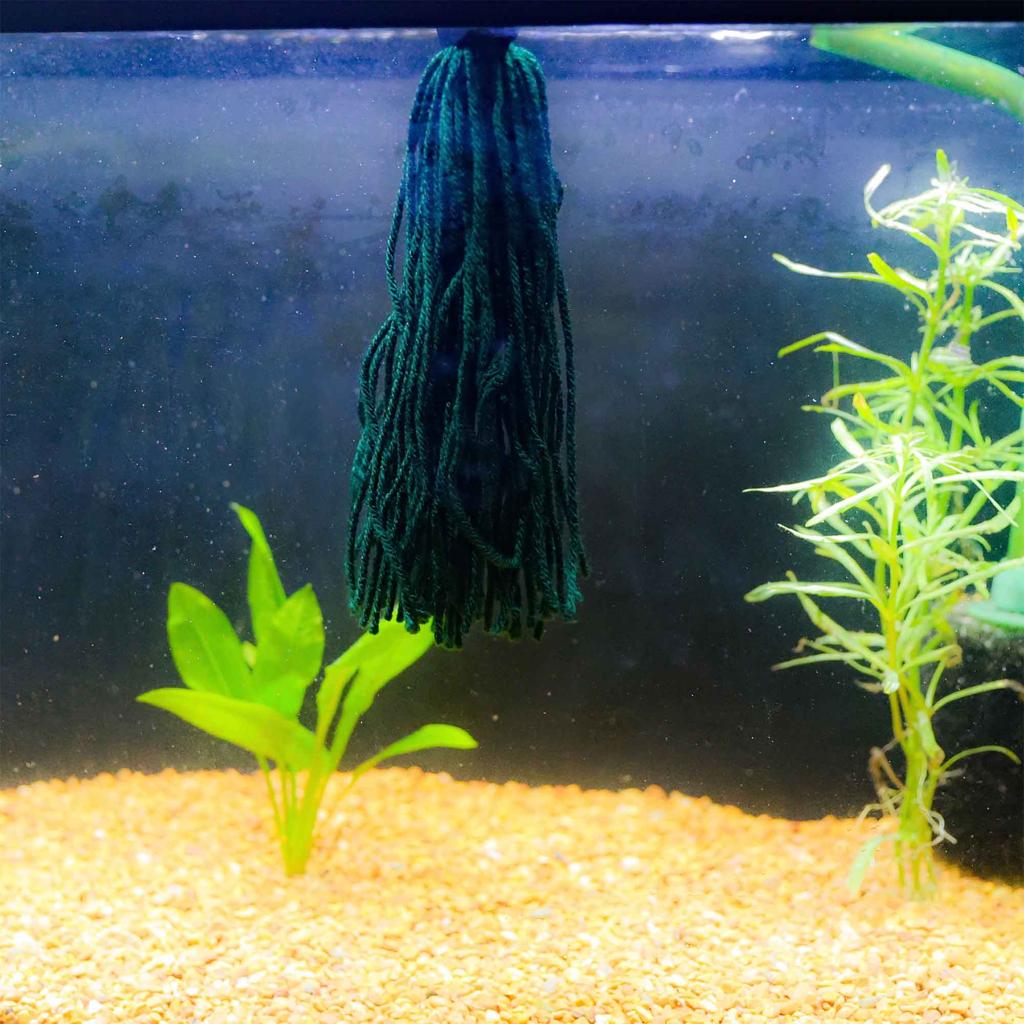
A spawning mop is often the easiest collection method.
4
After spawning, inspect the mop regularly.
Depending on the species and individual fish, eggs may also be deposited on:
- Java moss
- fine-leaved plants
- floating plants
- aquarium glass
- other spawning substrates
A clean spawning mop has a major advantage because the eggs can be removed without disturbing the entire aquarium.
Selecting Eggs for Water Incubation
Not every egg collected from a spawning mop will necessarily develop.
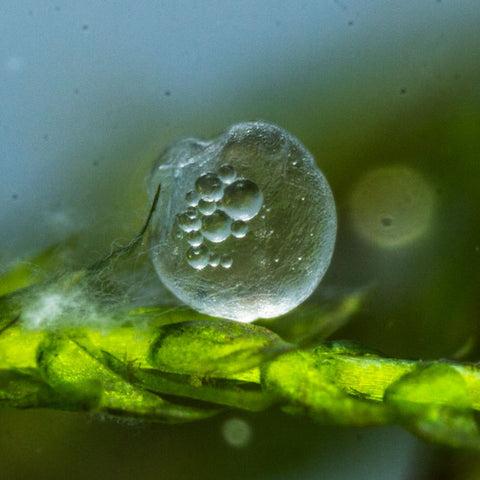
Healthy eggs are usually:
- transparent or translucent
- round
- firm
- free of obvious fungal growth
- increasingly easy to see through as the embryo develops
Infertile or damaged eggs may become:
- opaque
- white
- cloudy
- covered with fungus
Remove obviously dead eggs promptly.
This reduces the possibility of fungus spreading to neighboring viable eggs.
Preparing the Incubation Container
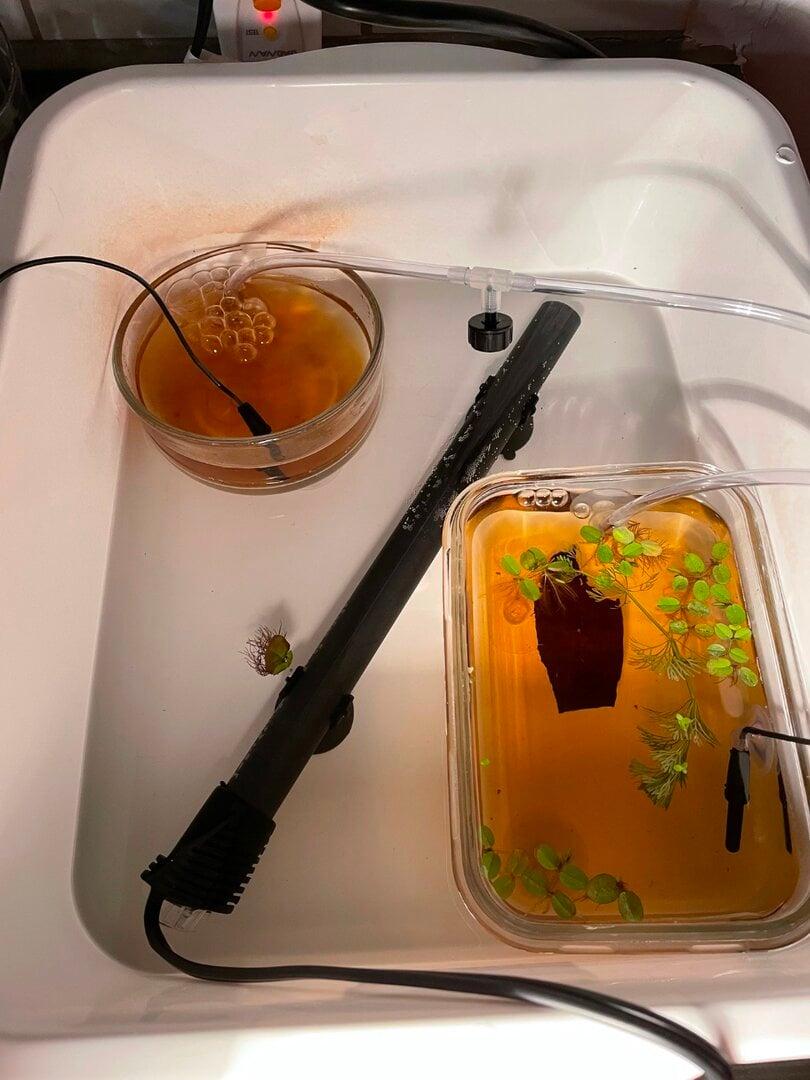
A separate small container is usually sufficient.
You do not need a large aquarium.
A practical setup might consist of:
- a small glass or plastic container
- clean aquarium water
- appropriate temperature
- gentle water movement or regular water changes
- a cover to reduce contamination
The container should be kept somewhere stable where temperature does not fluctuate excessively.
Which Water Should Be Used?
For water incubation, use water that is suitable for the species being bred.
Avoid making large, sudden changes in:
- temperature
- pH
- hardness
- conductivity
A particularly safe approach is to use water from the breeding aquarium.
This avoids exposing the eggs to a sudden change in chemistry.
For species such as Aphyosemion australe, breeders commonly use relatively soft, slightly acidic water.
However, water requirements are species- and population-dependent, so there is no universal “killifish water” recipe.
Temperature
Temperature influences embryonic development.
In general:
Warmer water → faster development
Cooler water → slower development
But this does not mean that eggs should simply be incubated as warm as possible.
A stable temperature appropriate for the particular species is preferable.
For many Aphyosemion, approximately 21–24°C is a useful working range, although individual species and populations can differ.
If you know the temperature at which the adult fish are being successfully maintained and spawning, maintaining the eggs at a similar temperature is often a sensible starting point.
How Long Do the Eggs Take?
This is where non-annual killifish are considerably easier than many annual species.
There is no universal incubation time.
Depending on species, temperature and developmental conditions, eggs may hatch after roughly one to several weeks.
For example, Aphyosemion australe eggs may develop and hatch in approximately 10–20 days under suitable conditions, although actual timing can vary.
Therefore, rather than relying on a single number:
Monitor the eggs as they develop.
Watch the Embryos
4
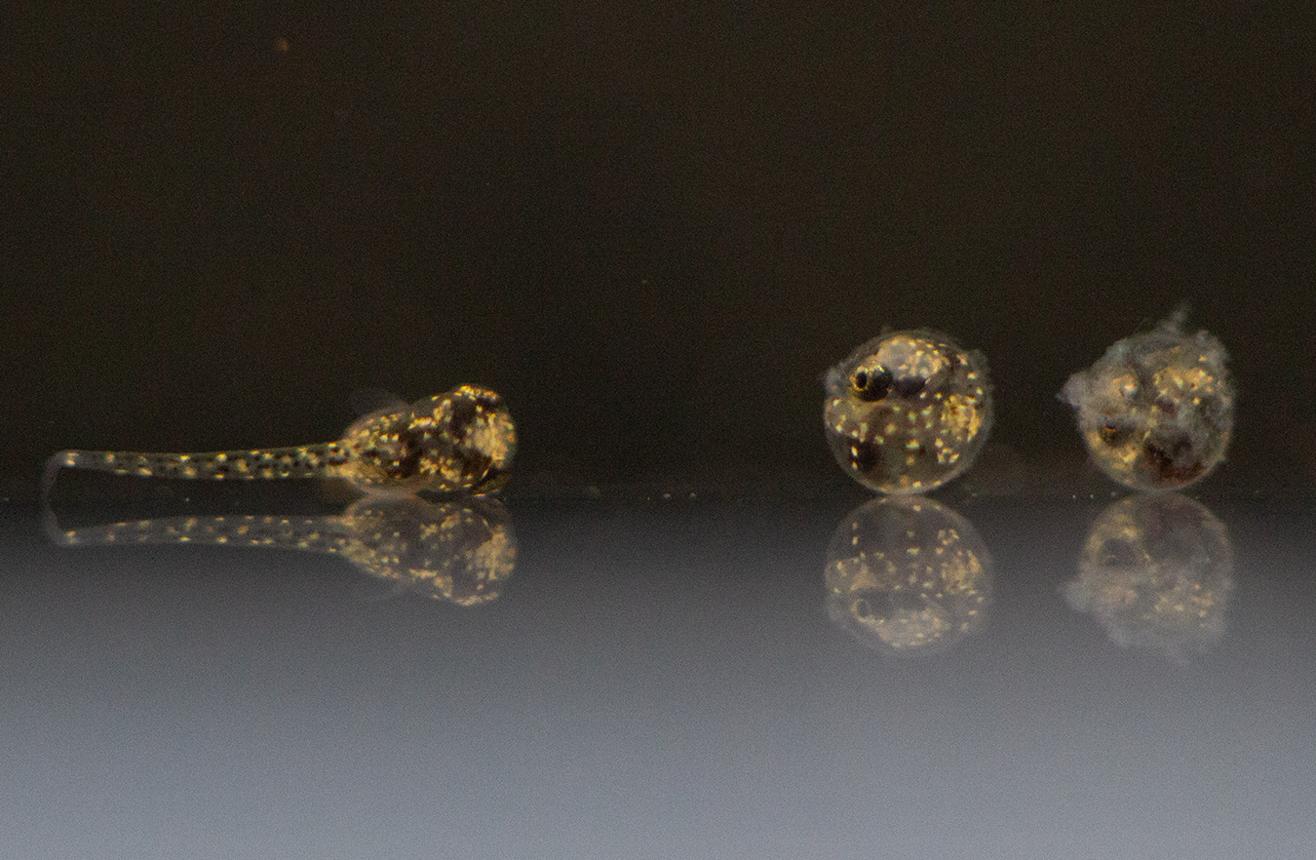
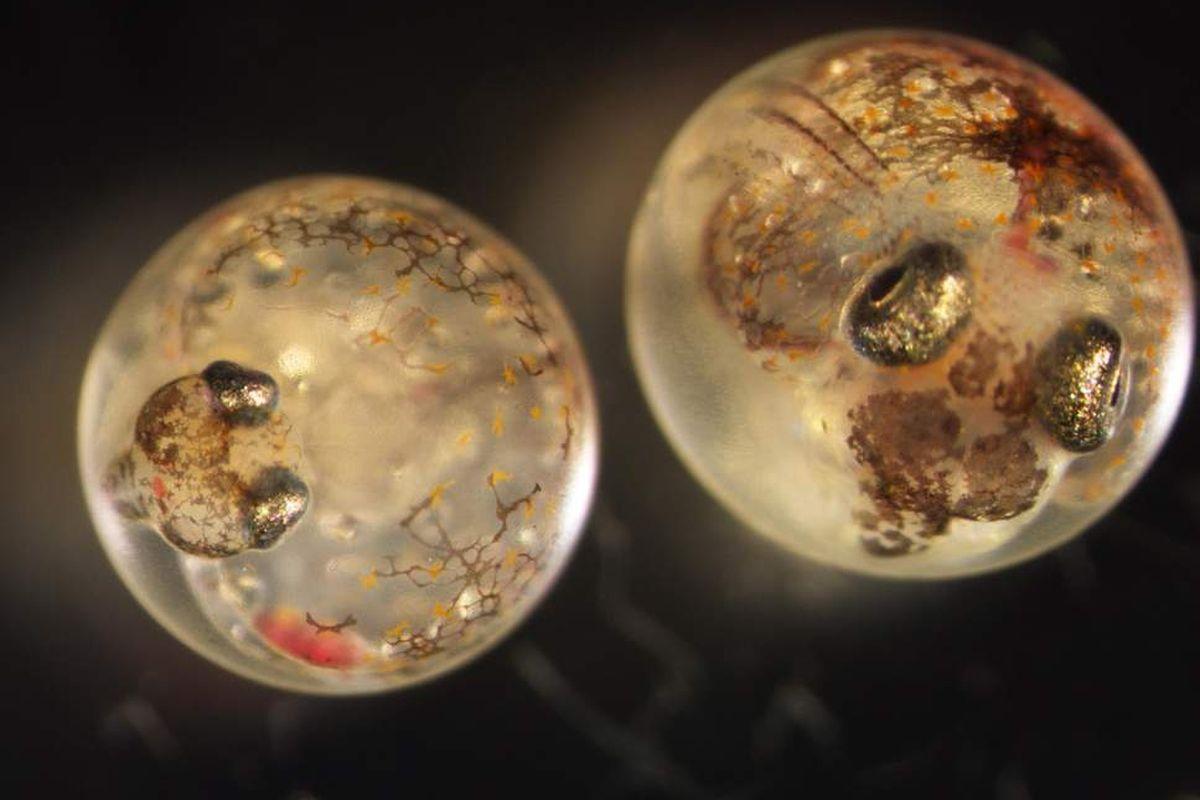
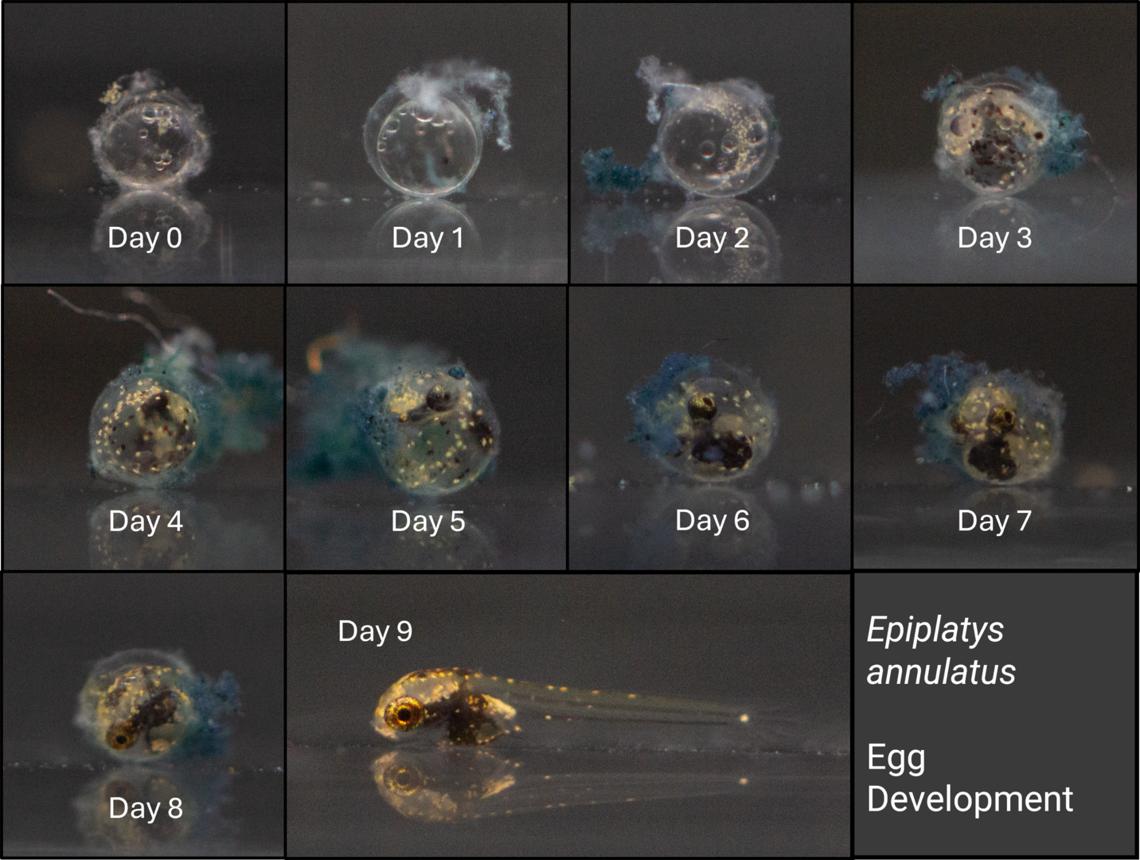
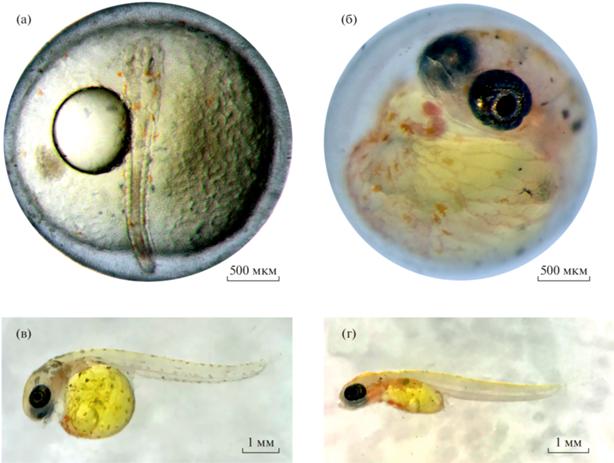
The developing embryo gradually becomes easier to see.
You may eventually see:
- the eyes
- the developing body
- the yolk
- movement inside the egg
A magnifying glass or small flashlight can make examination considerably easier.
As the embryo approaches hatching, it may move noticeably inside the egg.
That is a much better indication of imminent hatching than simply counting days.
Gentle Aeration
Strong water movement isn’t necessary.
The objective is simply to maintain good water quality and oxygenation without damaging the eggs.
If using an air pump, use:
very gentle aeration.
Alternatively, small volumes of water can be changed regularly.
The eggs should not be violently circulated around the container.
Preventing Fungus
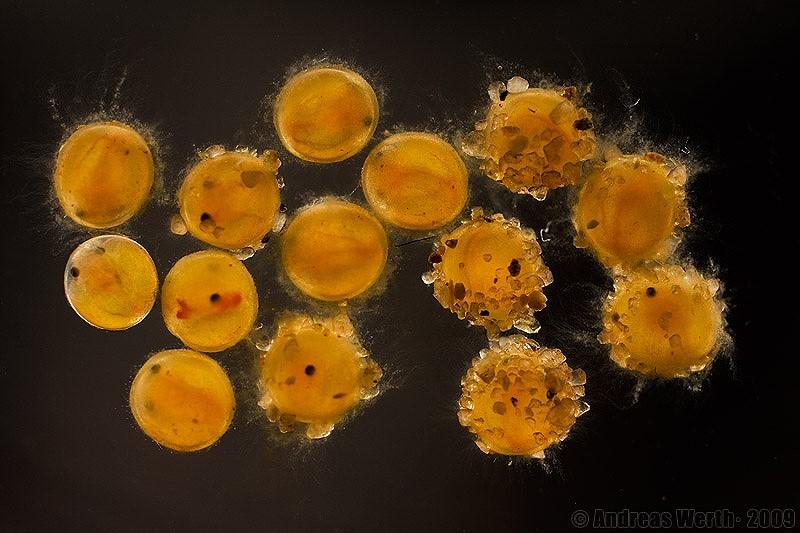
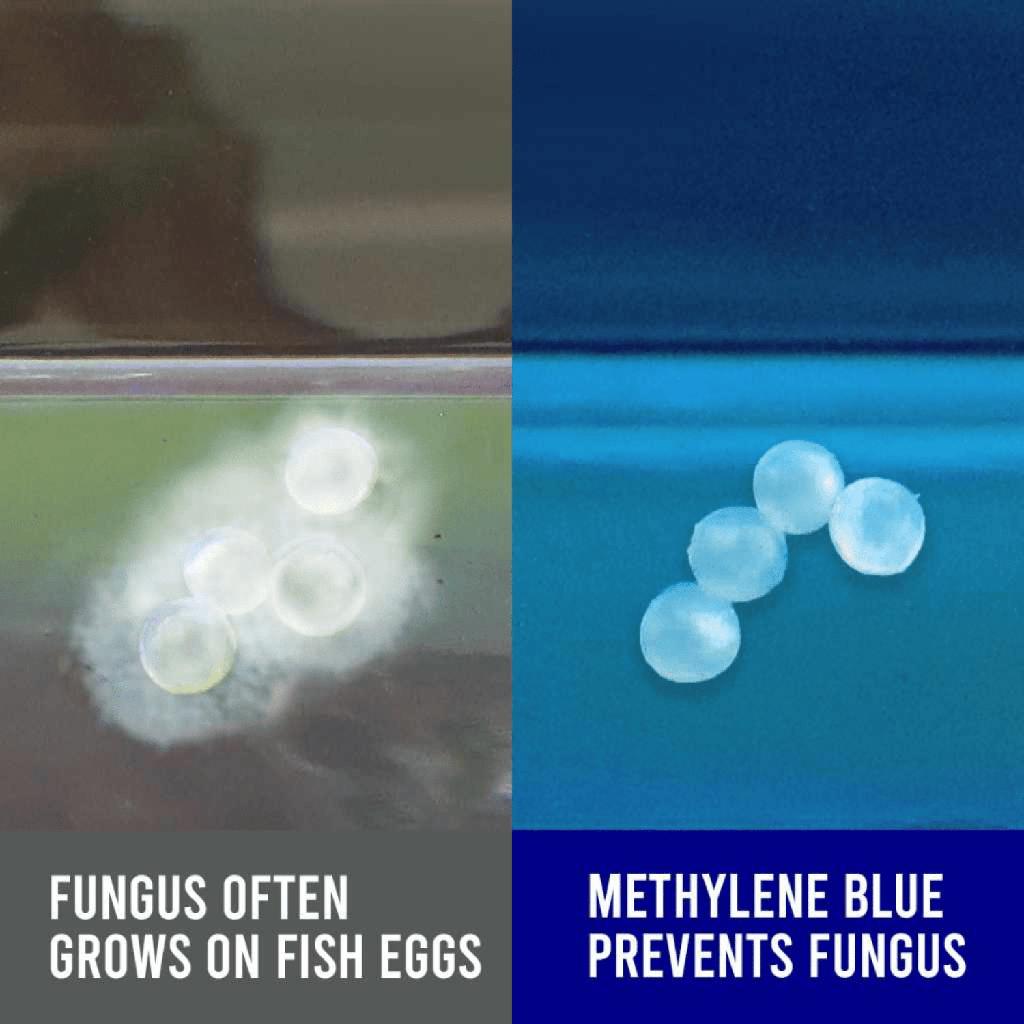
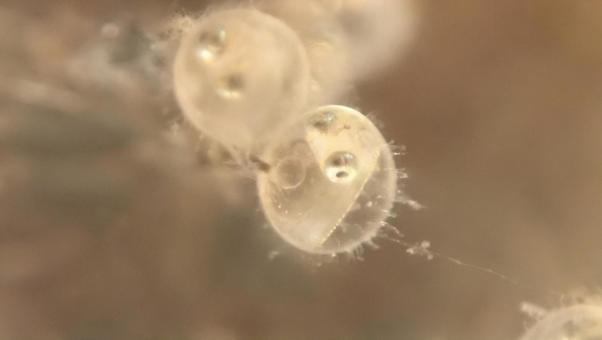
Fungus is one of the biggest problems with water-incubated eggs.
4
Fungus can grow particularly readily on dead or infertile eggs.
The simplest preventative strategy is:
Remove dead eggs.
Inspect the eggs regularly and remove any that have clearly turned white or become heavily infected.
Keeping the water clean is also important.
Some breeders use antifungal treatments, but these should not be treated as universally necessary. The appropriate treatment depends on the species, egg condition and breeder’s established method.
Should Methylene Blue Be Used?
Methylene blue has historically been widely used for egg incubation.
It can help inhibit fungal growth.
However, it isn’t essential for every water-incubation setup.
A breeder who regularly removes dead eggs and maintains clean water may successfully incubate eggs without it.
If it is used, follow the product’s directions carefully and avoid assuming that a concentration suitable for one application is automatically suitable for another.
Individual Eggs or Groups?
Both methods work.
Individual incubation
Each egg is placed separately in a small amount of water.
Advantages:
- easy to monitor
- fungus on one egg is less likely to affect others
- easy to record development
Disadvantages:
- labor intensive
- time-consuming with large numbers of eggs
Group incubation
Several eggs are placed together in one container.
Advantages:
- much easier
- practical for larger spawns
Disadvantages:
- fungus on dead eggs can affect nearby eggs
- individual monitoring is more difficult
For a small valuable spawn, individual incubation can make sense.
For a large spawn, group incubation is considerably more practical.
A Simple Water-Incubation Setup
A basic system can be extremely simple:
Breeding aquarium
↓
Collect eggs from spawning mop
↓
Inspect eggs
↓
Remove obviously dead eggs
↓
Place viable eggs in small container
↓
Use suitable aquarium water
↓
Maintain stable temperature
↓
Inspect regularly
↓
Remove fungus/dead eggs
↓
Watch embryo development
↓
Egg hatches
↓
Transfer fry to rearing container
When Is the Egg Ready to Hatch?
Unlike annual killifish, you normally aren’t waiting for a particular diapause stage.
The embryo continues developing.
Near hatching, you should be able to see the embryo clearly.
Signs include:
- clearly developed eyes
- recognizable body
- increased movement
- embryo filling much of the egg
- occasional vigorous movement
At this stage, hatching may occur naturally.
Don’t Force the Hatch
One advantage of water incubation is that you generally don’t need to manipulate the eggs to induce hatching.
If a healthy embryo is fully developed but hasn’t hatched yet, patience is often preferable to repeatedly disturbing it.
Some eggs simply hatch later than their neighbors.
After Hatching
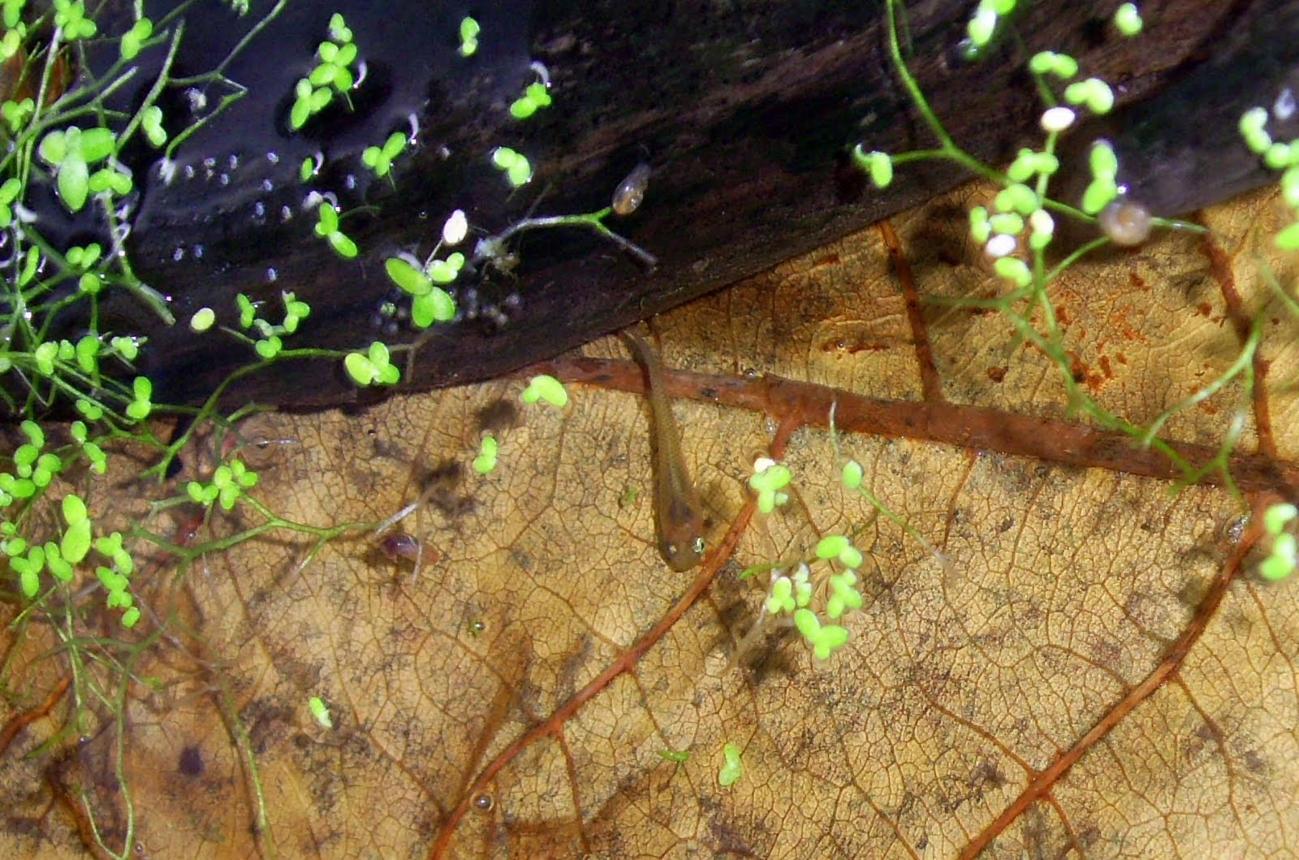
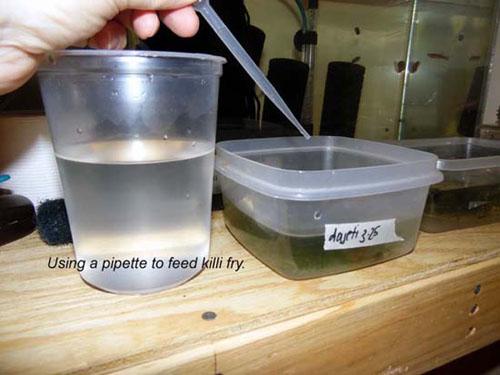
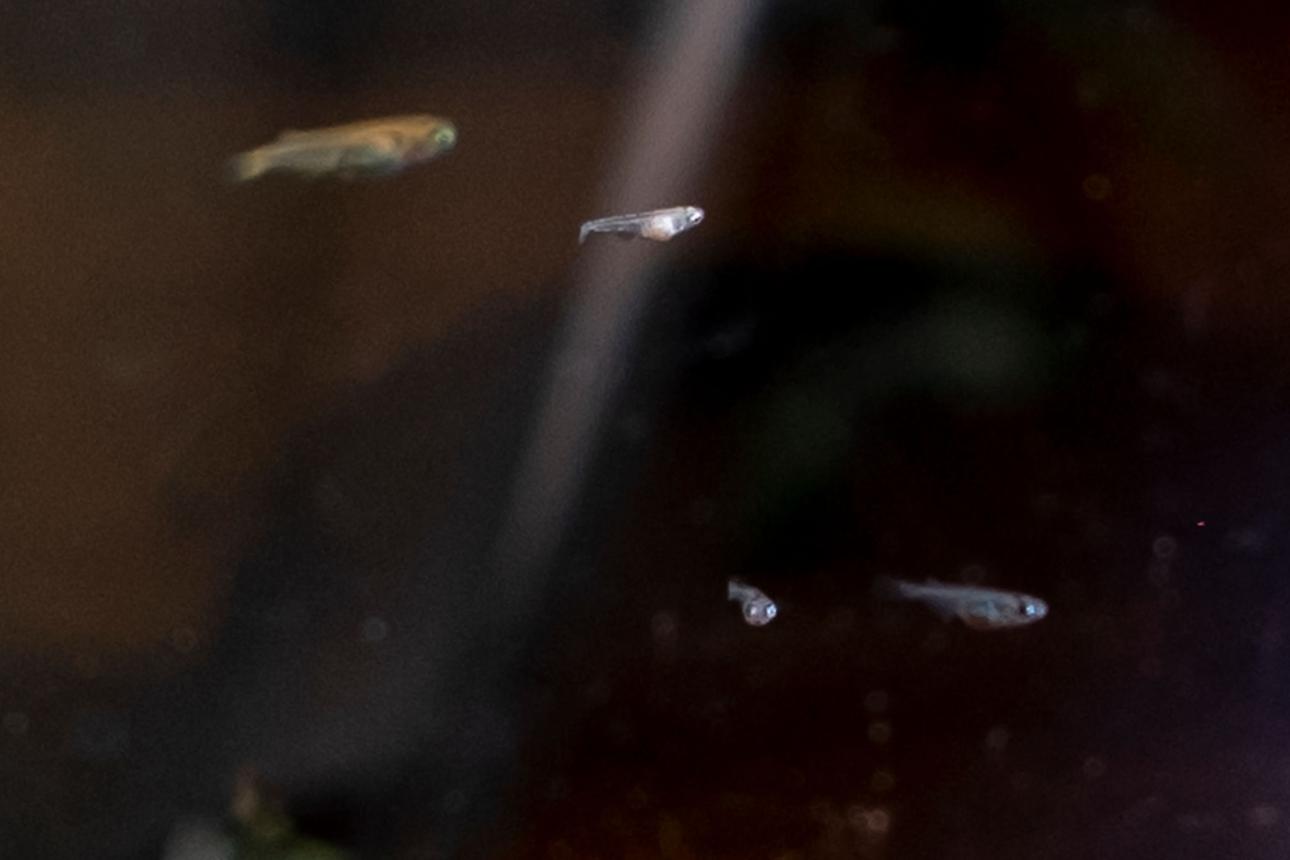
Newly hatched Aphyosemion fry are tiny.
Their first food depends on the species and size of the fry.
Suitable first foods can include:
- infusoria
- commercially prepared microscopic fry foods
- vinegar eels
- other appropriately sized live foods
As the fry become larger, newly hatched Artemia nauplii can become an excellent food.
For many Aphyosemion, baby brine shrimp are particularly useful for rapid growth.
Water Quality After Hatching
Once fry are present, water quality becomes even more important.
The rearing container should have:
- clean water
- stable temperature
- gentle circulation
- no accumulation of uneaten food
Small, regular water changes are generally safer than large sudden changes for very young fry.
Water Incubation vs. Peat Incubation
| Feature | Water incubation | Moist peat |
|---|---|---|
| Typical use | Non-annual eggs | Many annual eggs |
| Continuous development | Yes | May include diapause |
| Monitoring | Very easy | More difficult |
| Fungus risk | Requires monitoring | Different risks |
| Dry period required | No | Often part of annual-killifish methods |
| Incubation period | Usually shorter | Often considerably longer |
| Hatching | Usually natural | Often triggered by wetting |
| Best suited to | Many Aphyosemion | Many annual species |
The distinction is important:
Don’t automatically treat all killifish eggs as peat-incubation eggs.
The reproductive strategy of the species determines the appropriate method.
Can Aphyosemion Eggs Be Incubated on Peat?
Some non-annual Aphyosemion eggs can tolerate alternative incubation techniques, and breeders have experimented with moist substrates.
However, that doesn’t mean peat is necessary.
For a typical non-annual species, water incubation is usually the simpler starting point.
For example, Aphyosemion australe eggs can be incubated in water, making a separate water-incubation container a straightforward method for breeders.
Common Mistakes
1. Using water that is too different from the breeding aquarium
Sudden changes can stress developing embryos.
2. Letting dead eggs remain
Dead eggs can develop fungus and threaten neighboring eggs.
3. Excessive aeration
Eggs don’t need to be blasted around the container.
4. Overfeeding after hatching
Uneaten food rapidly damages water quality.
5. Incubating at excessive temperature
Faster development isn’t necessarily better development.
6. Assuming every Aphyosemion has the same incubation period
Species and populations vary.
7. Moving eggs unnecessarily
Once eggs are developing normally, stable conditions are preferable.
A Practical Breeder’s Routine
For a small Aphyosemion breeding project, a simple routine works well.
Daily:
- inspect eggs
- remove obvious dead/white eggs
- check water clarity
- look for embryo development
Every few days:
- perform a small water change if required
- check temperature
- inspect the most advanced embryos
When embryos are fully developed:
- watch for hatching
- remove newly hatched fry if appropriate
- begin suitable first feeding
Best Practice for Valuable Eggs
If the eggs come from a rare locality population, consider dividing the spawn.
For example:
Batch A → water incubation
Batch B → separate water container
This provides a safety margin.
If something goes wrong with one container, you haven’t lost the entire spawn.
For especially valuable fish, keeping detailed records of:
- species
- population code
- parents
- spawning date
- incubation temperature
- hatch date
- number of eggs
- number hatched
can become extremely valuable for future breeding.
Final Takeaway
Water hatching is a simple and highly practical method for many non-annual killifish eggs, particularly Aphyosemion.
The basic principle is:
Collect → inspect → clean water → stable temperature → remove dead eggs → monitor development → allow natural hatching.
There is no need to force the eggs through a peat-drying cycle simply because they are killifish eggs.
The most important rule is:
Match the incubation method to the reproductive strategy of the species.
For non-annual Aphyosemion, continuous water incubation is often the easiest way to observe embryo development and obtain healthy fry.
