6
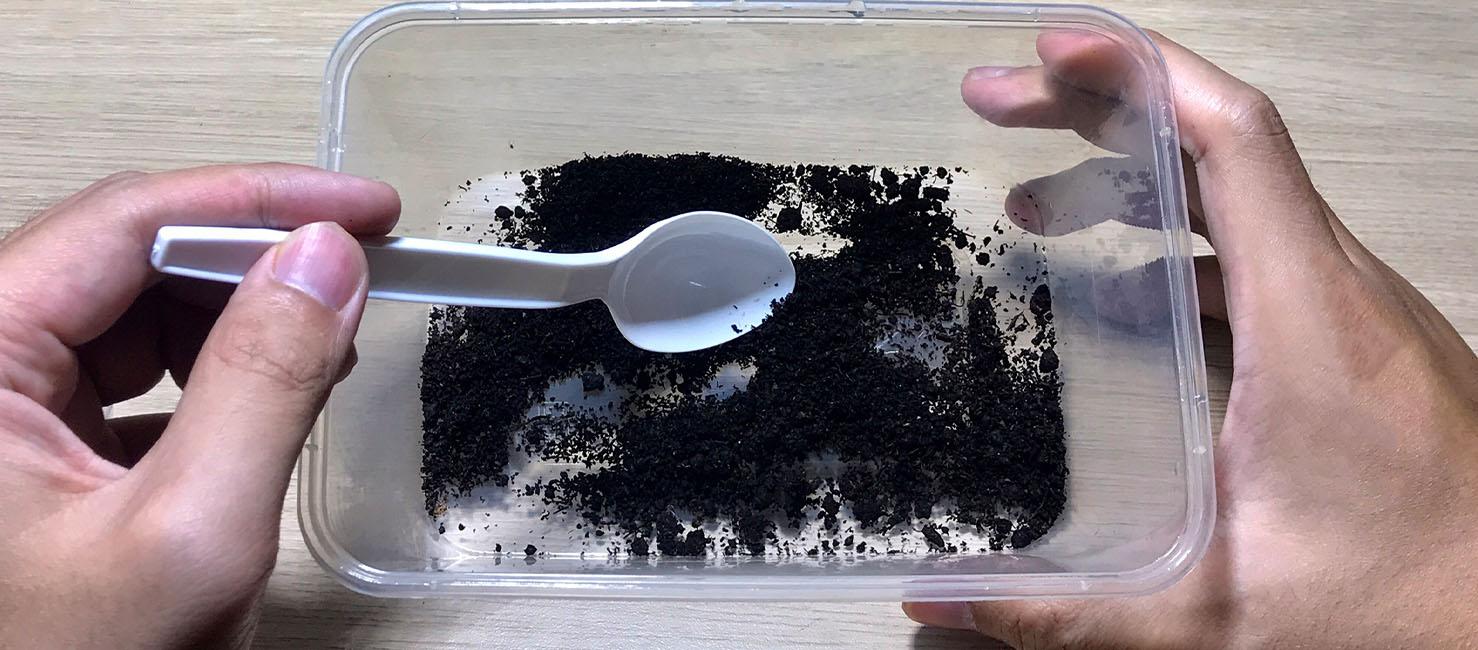
Peat moss has traditionally been one of the most useful breeding substrates for annual killifish, particularly species such as Nothobranchius, Austrofundulus, Simpsonichthys and other annual or semi-annual species.
The peat provides a natural spawning medium in which eggs can be deposited, collected and then incubated under controlled conditions. Unlike non-annual species, annual killifish have evolved to produce eggs capable of surviving the seasonal drying of their temporary habitats.
Why Peat Is Used
In the wild, annual killifish often live in temporary pools that eventually dry out. The adult fish disappear, but their eggs remain buried in the substrate until the next rainy season.
Peat can reproduce this process in captivity:
        ADULT KILLIFISH
              ↓
          SPAWNING
              ↓
       EGGS IN PEAT
              ↓
       COLLECT THE PEAT
              ↓
       DRAIN / DRY TO
       CORRECT MOISTURE
              ↓
       CONTROLLED STORAGE
              ↓
       CHECK DEVELOPMENT
              ↓
           HATCHING
              ↓
             FRY
The important point is that the peat is not the food or the incubation medium itself. It is primarily a convenient substrate that allows the eggs to be collected and maintained through their incubation period.
Choosing Peat Moss

5
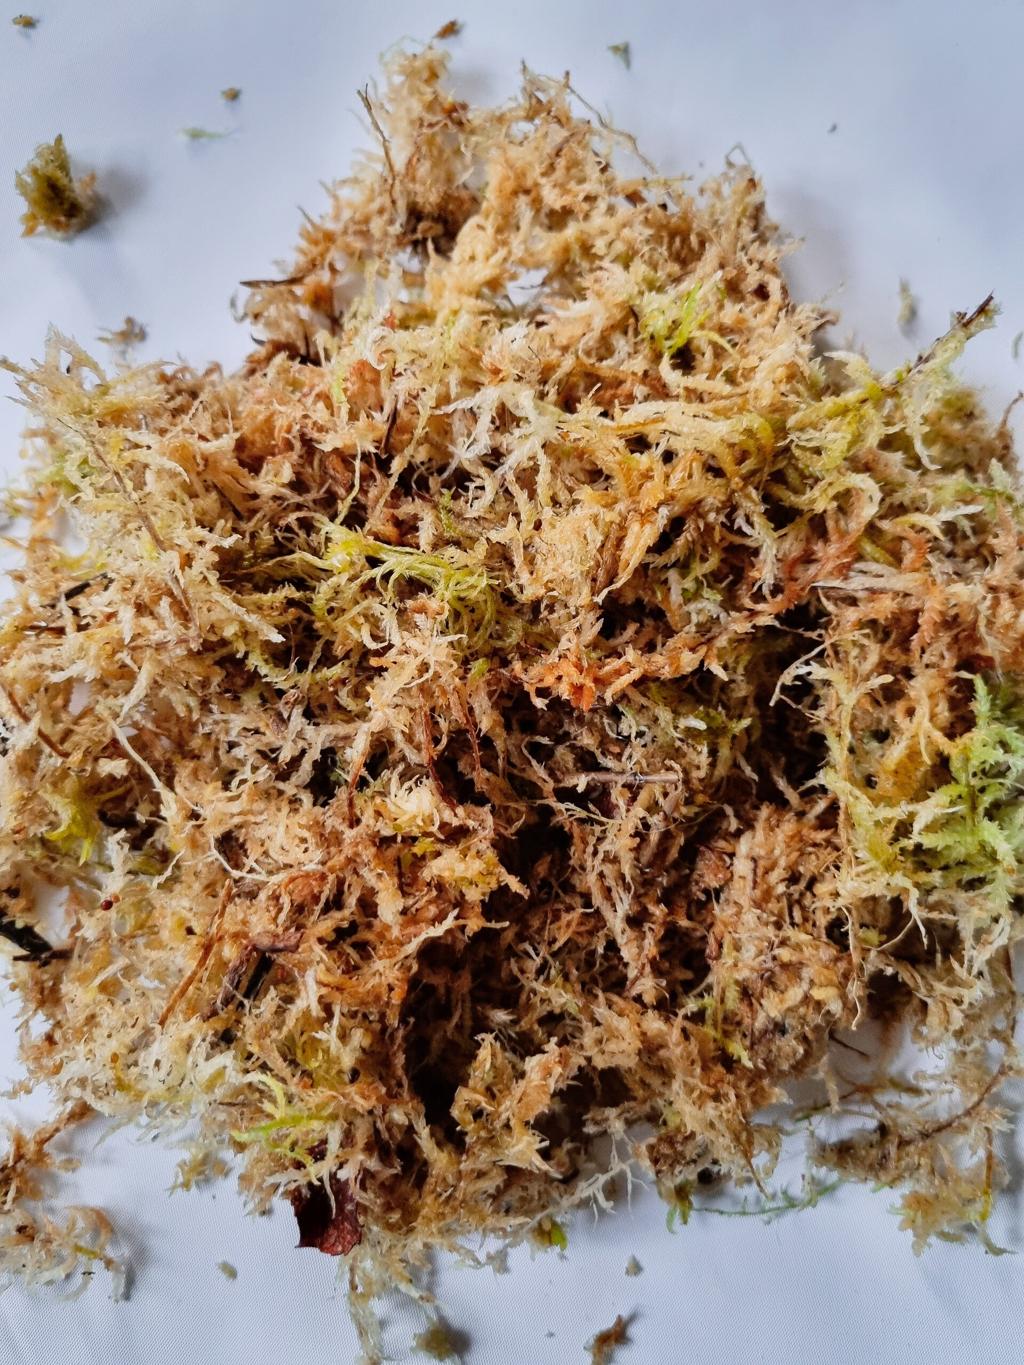
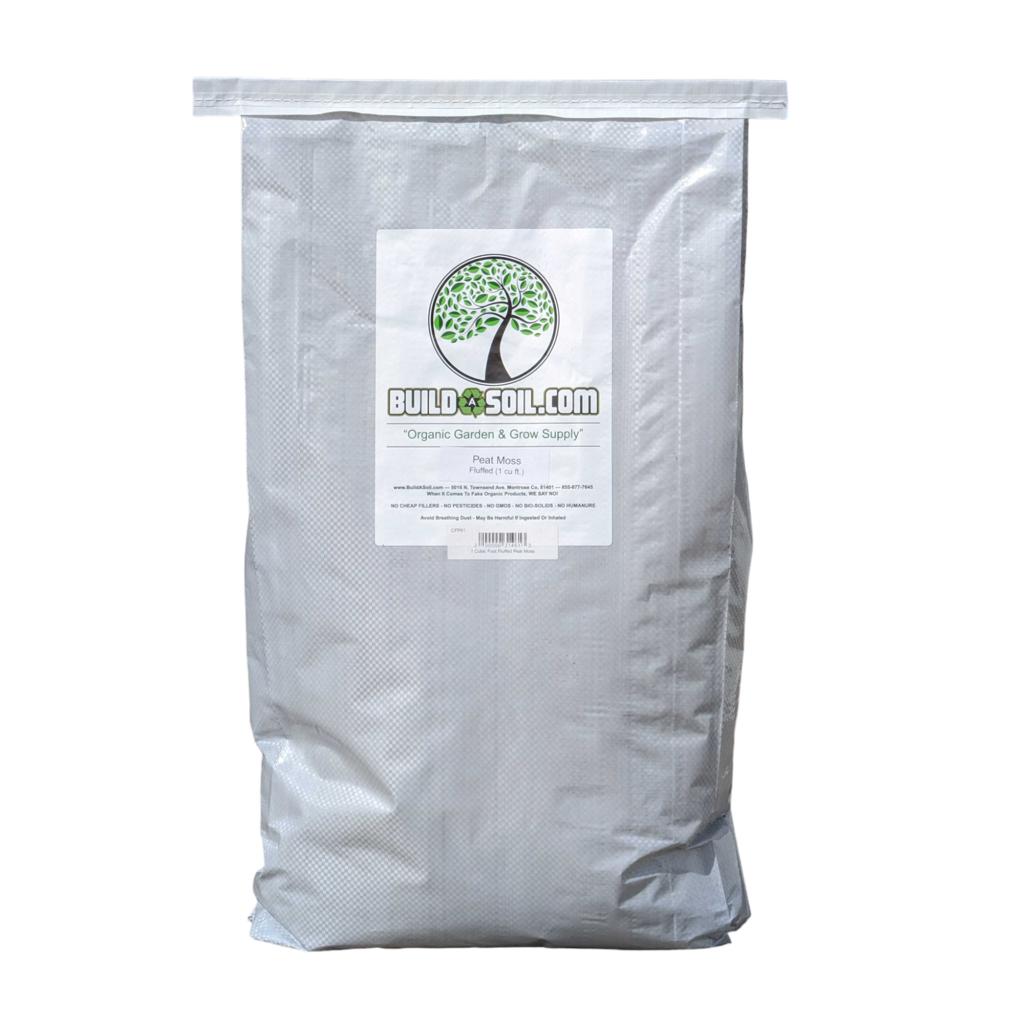
For killifish breeding, use clean, untreated sphagnum peat moss.
Avoid products containing:
- fertilizer
- lime
- pesticides
- wetting agents
- fungicides
- artificial additives
- large amounts of wood or compost
A product sold for ordinary gardening is not automatically suitable for aquarium use.
The safest approach is to know exactly what the product contains and use peat with as few additives as possible.
What breeders are looking for
Good peat should be:
- fine or reasonably fine textured
- fibrous enough to hold eggs
- free of fertilizer
- free of chemical additives
- capable of holding moisture
- easy to separate from eggs
Collecting Peat
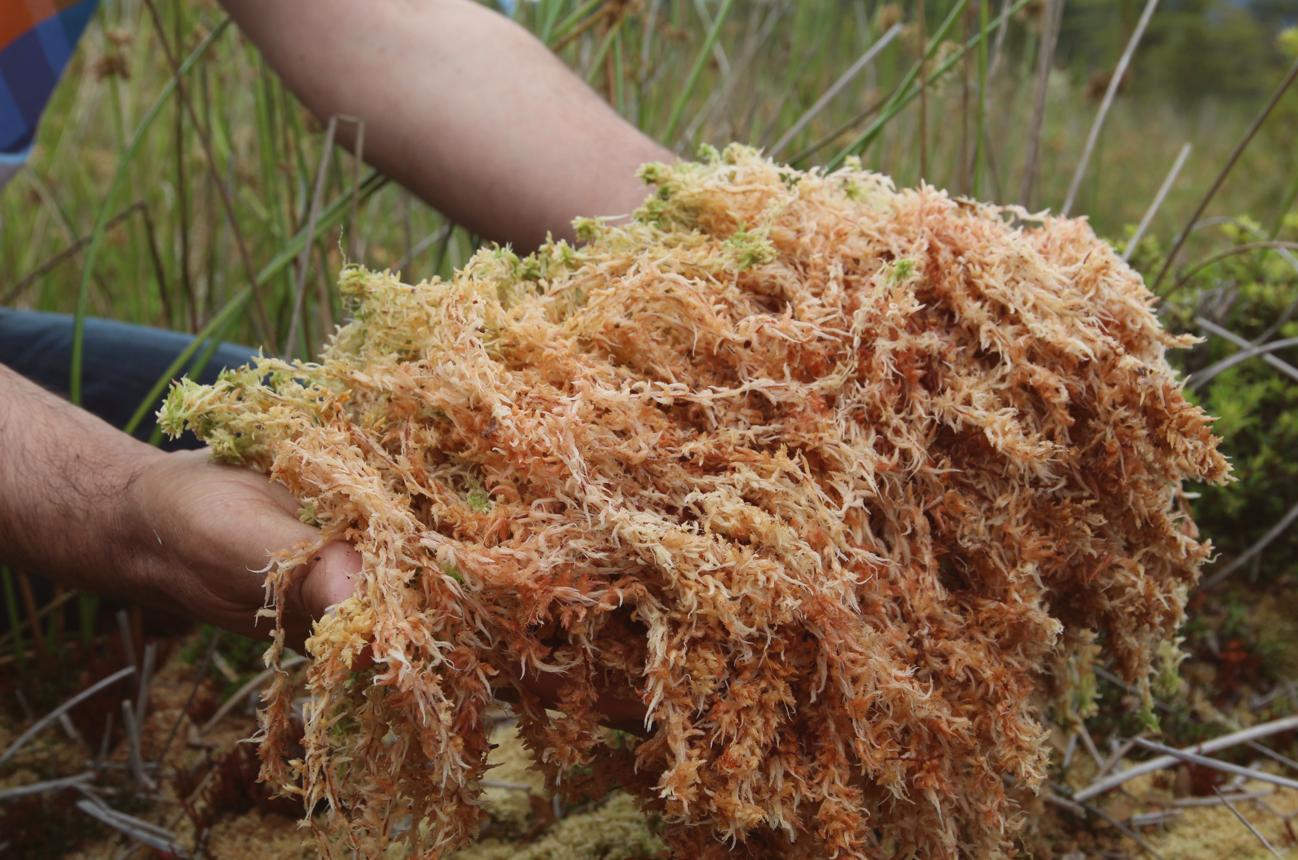
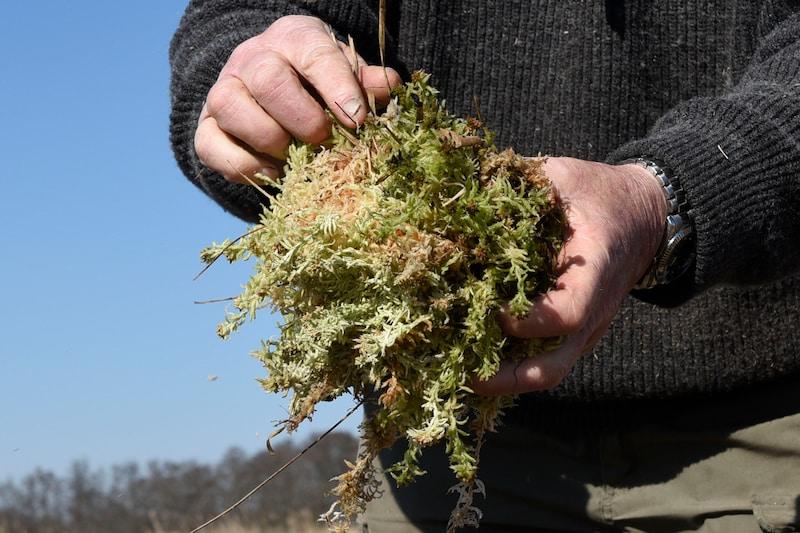
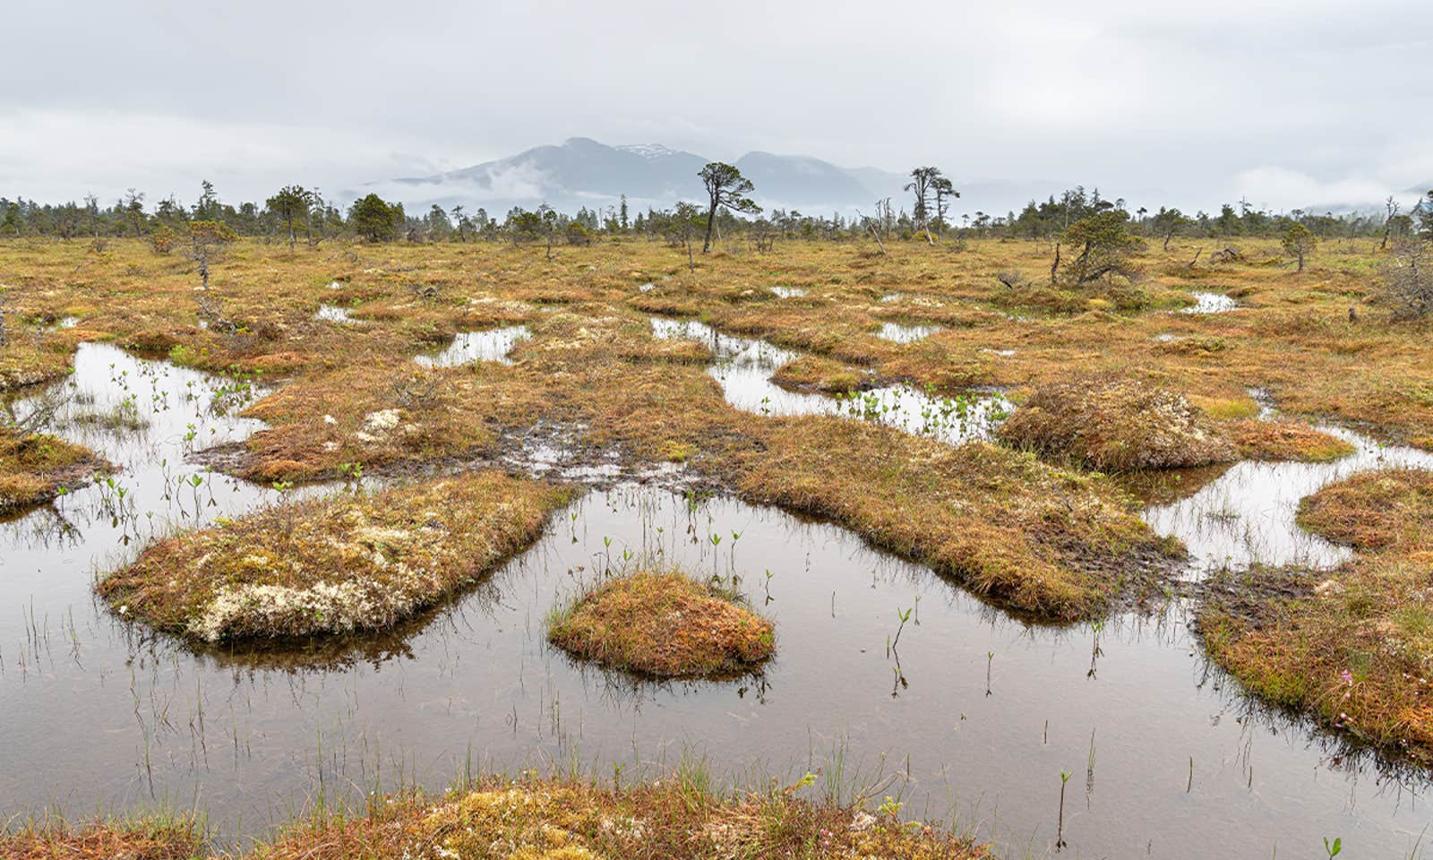
If you are collecting peat from a natural environment rather than buying a commercial product, considerably more caution is required.
6
Natural peat can contain:
- insects
- microorganisms
- fungi
- plant material
- pollutants
- pesticides
- other contaminants
There can also be significant environmental and legal restrictions on removing peat or moss from natural habitats.
For killifish breeding, therefore, commercially produced, untreated peat is usually a much more practical choice than collecting peat from the wild.
Preparing Peat for Annual Killifish
Before putting peat into a breeding aquarium, many breeders prepare it so that it sinks and contains fewer loose particles.
A simple preparation method is:
1. Remove coarse material
Pick out:
- sticks
- large pieces of bark
- stones
- unusually coarse fibers
2. Rinse thoroughly
Place the peat in a fine net or sieve and rinse it with clean water.
The purpose is primarily to remove dust and excess loose material.
3. Soak
Put the peat into a container with clean water.
After it becomes thoroughly saturated, it becomes much easier to work with.
4. Squeeze out excess water
For spawning, the peat should be moist rather than waterlogged.
TOO DRY
☀️  ───────────
      ❌

CORRECT
💧 💧 💧
Moist and dark
      ✓

WATERLOGGED
💧💧💧💧💧
Standing water
      ❌
The exact moisture level becomes particularly important when the peat is later used for egg incubation.
Using Peat as a Spawning Substrate
Annual killifish can be given a small container of peat in which to spawn.
A typical setup is:
        AQUARIUM
┌─────────────────────┐
│                     │
│       🐟  🐟        │
│                     │
│                     │
│   ┌─────────────┐   │
│   │   PEAT      │   │
│   │  SPAWNING   │   │
│   │  CONTAINER  │   │
│   └─────────────┘   │
└─────────────────────┘
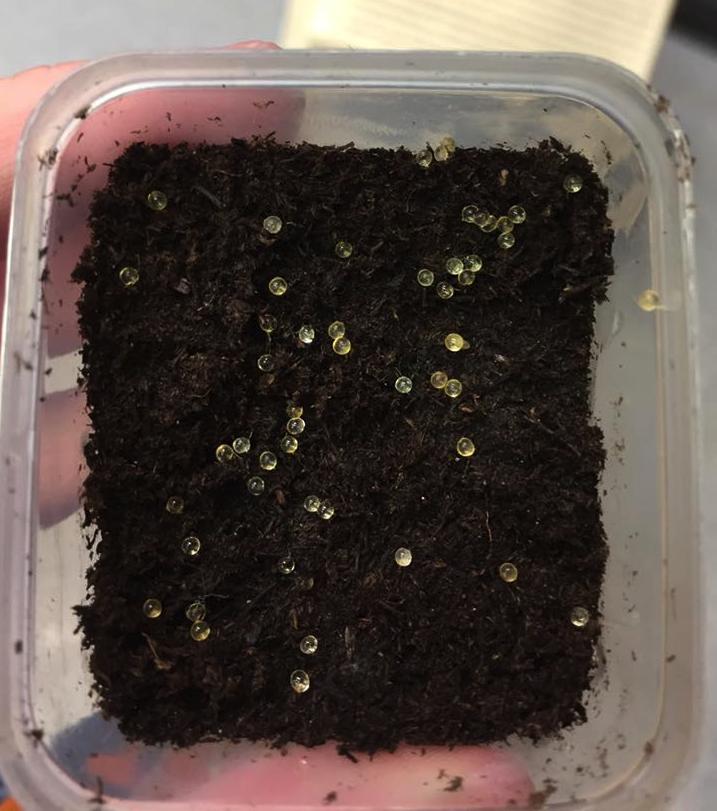
The fish enter the peat and deposit eggs among the fibers.
This is particularly useful because the peat can subsequently be removed from the aquarium and processed separately.
Collecting the Eggs
After the breeding period, remove the peat container and separate the peat from the aquarium water.
The peat should be drained but not allowed to become bone dry during initial processing.
Gently squeeze the peat to remove excess water.
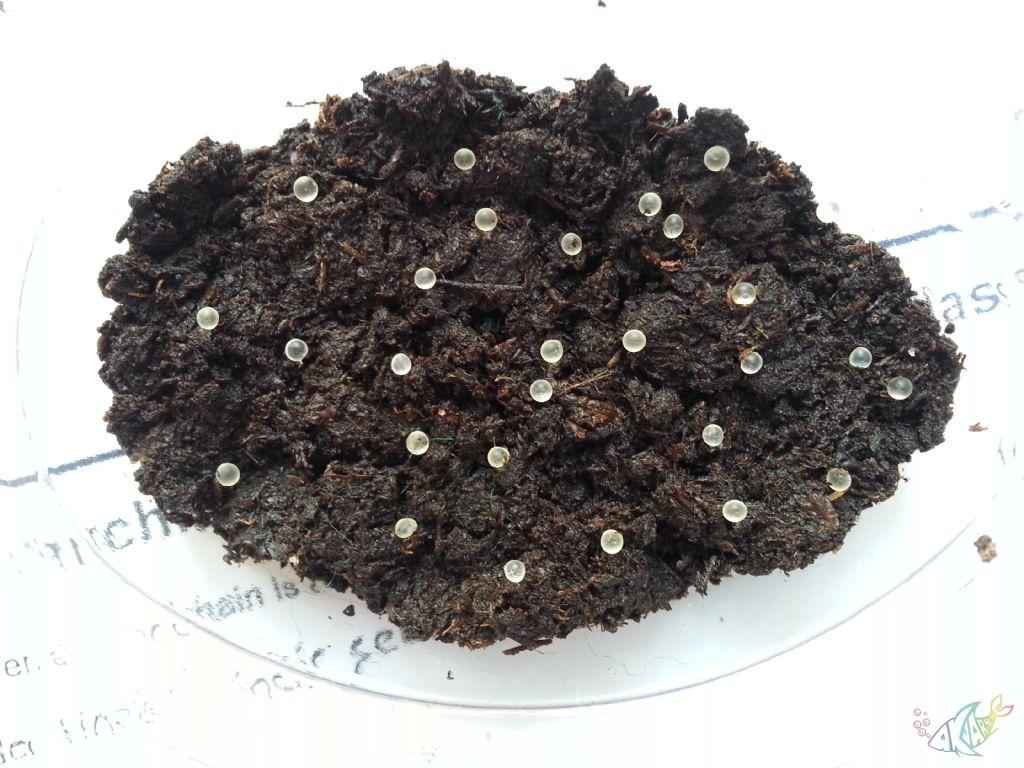
Then spread it out in a thin layer and inspect it.
Eggs can sometimes be seen with the naked eye, although a magnifying glass makes the job much easier.
Don’t aggressively squeeze or crush the peat
Eggs can be surprisingly resilient, but unnecessary mechanical pressure can damage them.
The goal is:
remove excess water → retain moisture → preserve the eggs.
Storing Peat Containing Eggs
4
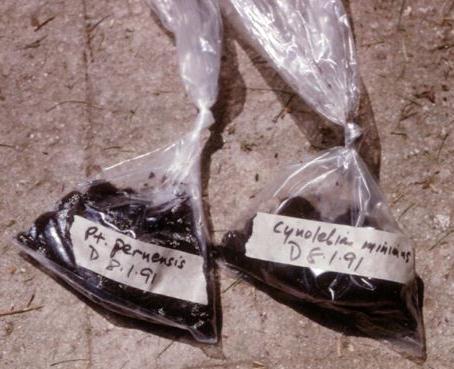
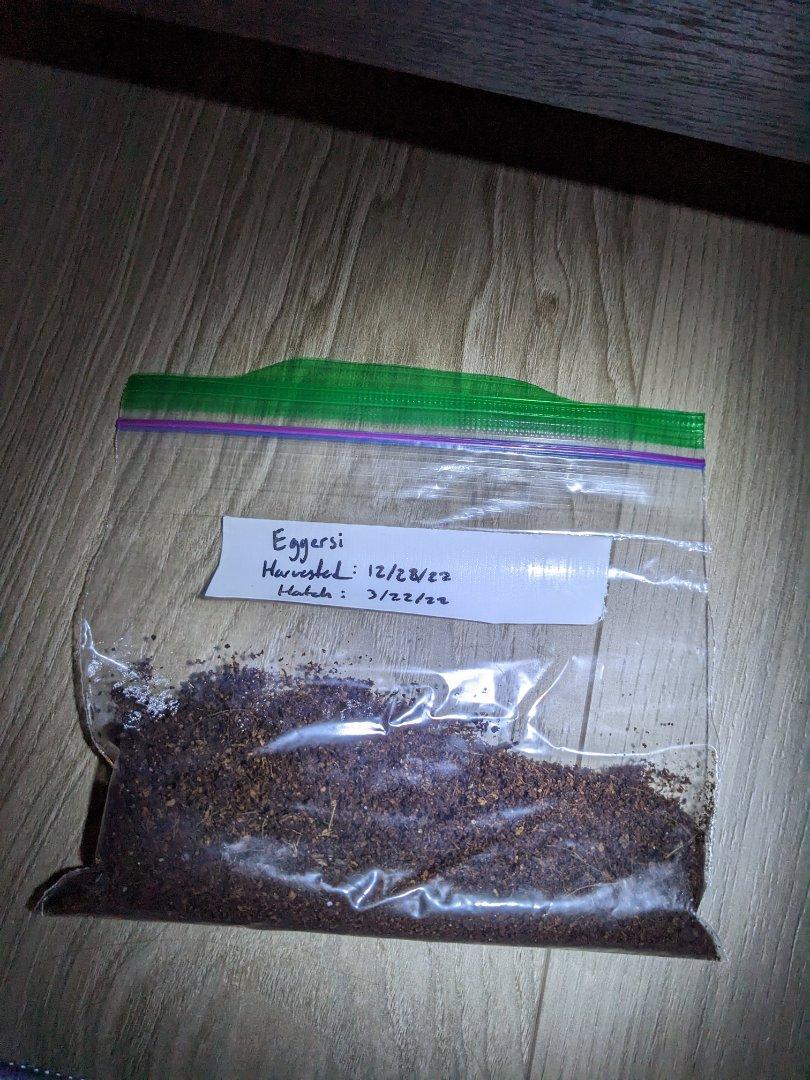
Once the peat has been prepared, it can be placed in a clearly labelled container or plastic bag.
Label every batch with:
Species + population/locality + collection date
For example:
Nothobranchius rachovii — Beira 98/2 — eggs collected September 2, 2026
For serious killifish breeding, locality information is extremely important. Never rely on memory.
Storage container
A suitable container should:
- retain moisture
- allow some gas exchange
- prevent the peat from drying completely
- protect the eggs from contamination
- be clearly labelled
A sealed bag can work for some breeding methods, but the correct moisture level and oxygen exchange depend on the species and the breeder’s incubation technique.
The Most Important Variable: Moisture
This is where many beginners make mistakes.
Peat containing annual killifish eggs should not simply be dried completely like ordinary garden material.
The eggs are undergoing a biological development process during incubation, and different species have different requirements.
Some species tolerate relatively dry incubation periods, while others require substantially more moisture.
Therefore:
Do not use one incubation recipe for every annual killifish species.
Nothobranchius species, for example, can have considerably different incubation behavior and timing between species and populations.
Checking the Peat During Incubation
Every few weeks, inspect the peat.
Look for:
- excessive drying
- mold
- unusual odor
- excessive condensation
- developing eggs
- visible embryos
If the peat is becoming too dry, moisture can sometimes be increased carefully using a fine mist or a controlled addition of water.
Do not flood the peat.
The objective is to adjust the moisture level gradually.
PEAT INCUBATION

Too dry
   ↓
Egg development may stop
   ↓
Add moisture carefully

Correct moisture
   ↓
Embryos develop
   ↓
Ready for hatching

Too wet
   ↓
Risk of fungal problems /
incorrect incubation conditions
Incubation Time
There is no universal incubation period for annual killifish.
Depending on the species, population, temperature and incubation method, eggs may be ready in:
several weeks → several months → considerably longer
Some annual killifish eggs also exhibit developmental stages and can enter diapause, meaning development temporarily stops.
This is one of the fascinating adaptations that allows annual killifish to survive the disappearance of their natural pools.
Knowing When Eggs Are Ready
A common breeding mistake is assuming that all eggs in a batch hatch at exactly the same time.
They don’t.
Within a batch, eggs can be at different developmental stages.
Some may already contain fully developed embryos while others are still undergoing diapause.
When embryos become visibly developed, breeders can test a small amount of peat for hatching readiness.
Small-batch testing
Rather than flooding the entire batch immediately:
             EGG BATCH
                 ↓
          Take small sample
                 ↓
             Add water
                 ↓
          Observe hatching
             ↙       ↘
        Fry appear   No fry
           ↓            ↓
       Continue      Return to
       hatching      incubation
This allows you to preserve the remainder of the batch if the timing isn’t right.
Why Record Keeping Matters
For annual killifish, good records are almost as important as good water quality.
For every peat batch record:
| Information | Example |
|---|---|
| Species | Nothobranchius rachovii |
| Population | Beira 98/2 |
| Parents | Breeding group A |
| Eggs collected | 02 September |
| Incubation started | 02 September |
| Incubation temperature | 22 °C |
| Moisture observations | Weekly |
| Development observed | 15 October |
| Hatching test | 20 October |
| First hatch | 21 October |
| Fry count | 38 |
This becomes particularly valuable when you maintain multiple populations.
Peat Storage vs. Artificial Spawning Mops
Peat is not appropriate for every killifish.
For non-annual Aphyosemion, for example, spawning mops are generally much more convenient.
| Feature | Peat | Spawning mop |
|---|---|---|
| Annual species | ⭐⭐⭐⭐⭐ | ⭐⭐⭐ |
| Non-annual species | ⭐⭐ | ⭐⭐⭐⭐⭐ |
| Egg collection | ⭐⭐⭐⭐ | ⭐⭐⭐⭐⭐ |
| Long-term egg incubation | ⭐⭐⭐⭐⭐ | ⭐⭐⭐ |
| Easy aquarium maintenance | ⭐⭐ | ⭐⭐⭐⭐⭐ |
| Locality preservation | ⭐⭐⭐⭐⭐ | ⭐⭐⭐⭐⭐ |
This is why it is useful to understand the reproductive strategy of the species before choosing the spawning substrate.
⚠️ Common Mistakes
Using fertilized garden peat
Never assume garden peat is aquarium-safe.
Allowing the peat to become completely dry
This can damage eggs depending on the species and incubation stage.
Keeping it soaking wet
Annual killifish eggs are adapted to seasonal drying, not permanent flooding during every phase of development.
Mixing populations
Never combine peat from different populations.
Losing the label
An unlabeled batch of killifish eggs can become essentially useless for a serious breeding program.
Hatching the entire batch at once
Testing a small portion first can save a valuable egg collection.
🏆 Best Practice
For annual killifish, peat remains a very useful traditional breeding technique, but species-specific incubation requirements should always take priority over a generic recipe.
The ideal workflow is:
Clean untreated peat → prepare and moisten → allow fish to spawn → collect peat → remove excess water → label → incubate under controlled conditions → periodically inspect → test a small sample → hatch when embryos are ready → preserve the remaining eggs if necessary.
For a serious annual killifish breeding program, accurate labels and incubation records are essential. The peat is simply the medium that makes the remarkable survival strategy of annual killifish manageable in the aquarium.
